

Hello All, its Saturday!
Ahhh, I love being off on Holiday Weekends!
Today, I have another Patriotic Fun DIY project!
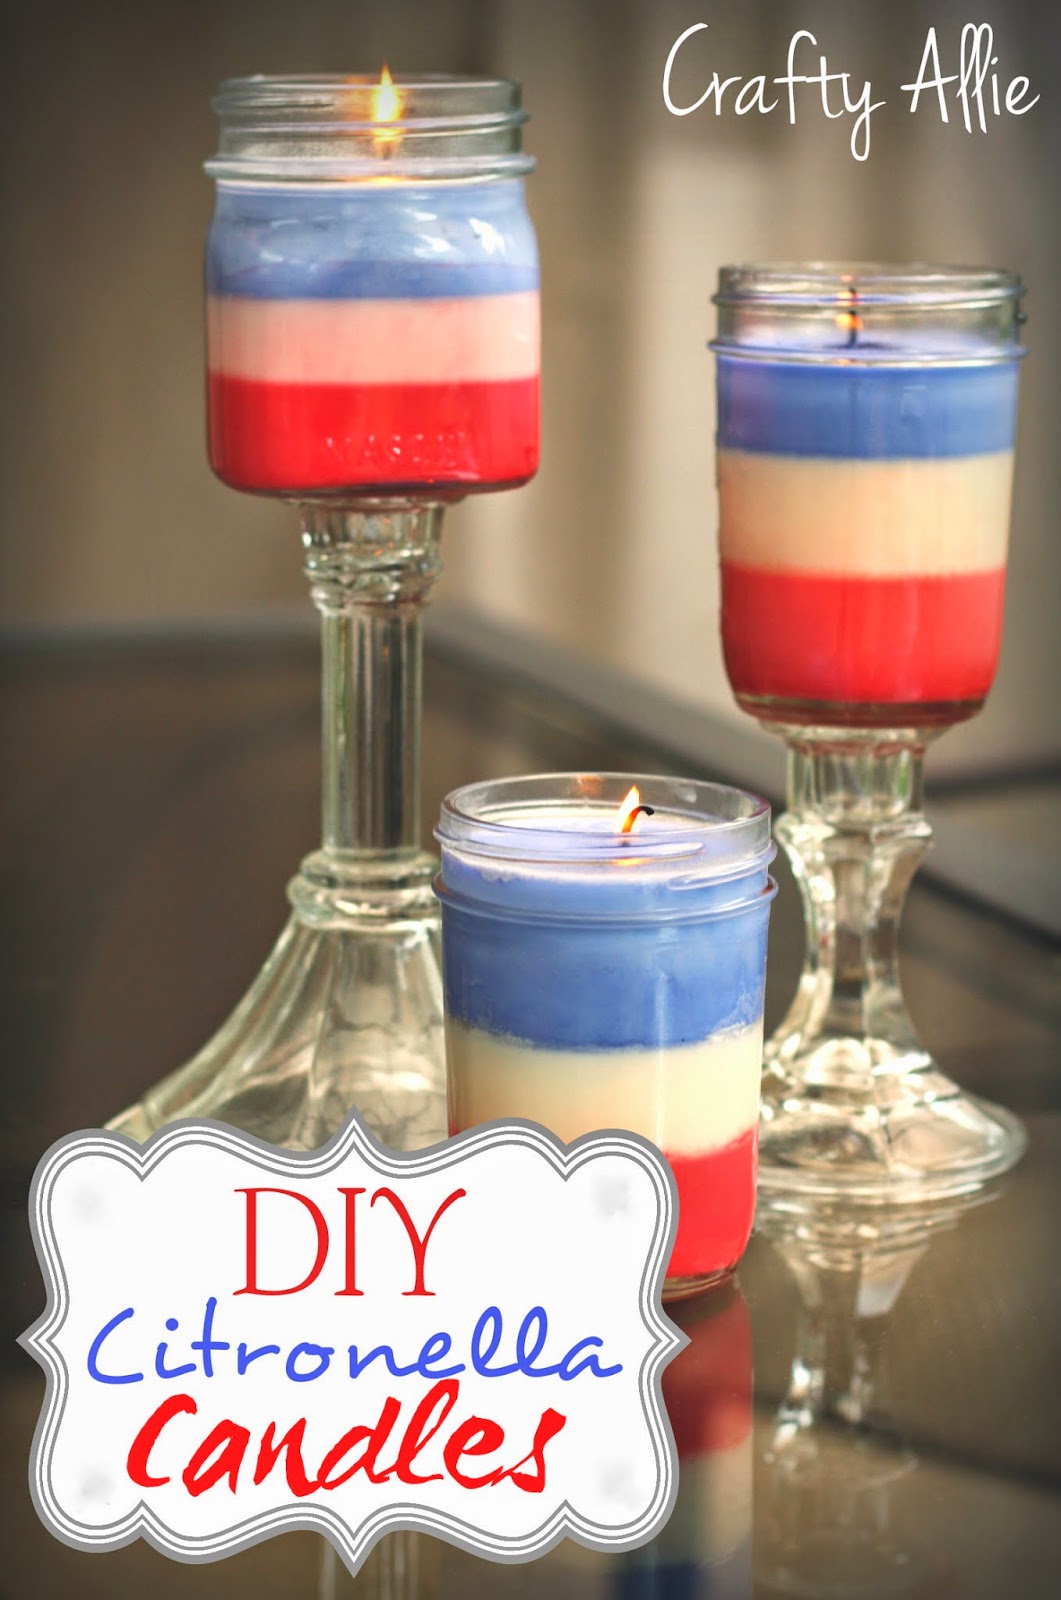
I had so much fun making these candles!
My friend Bill @ Candlewic.com
gave me the two 10 lbs bags of Soy Wax
along with 10 wicks.
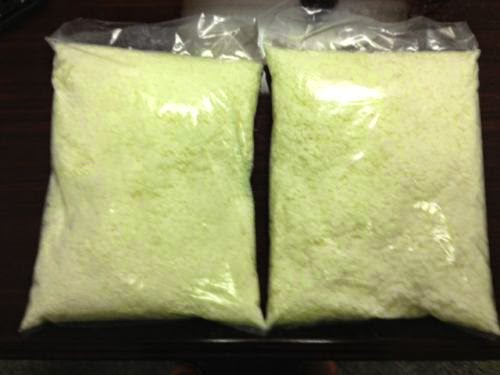
This all natural wax is a good wax to use for containers, tins and ceramic crocks.
It is all natural, biodegradable and 100 % soy.
This wax is truly a one pour, with good adhesion to the glass and very good scent throw.
There are a lot of ways that you can make candles. I mean as far as the creation process.
Here is a good site that will show the most accurate and safest way.
http://www.letsmakecandles.com
I didn't want to have to buy a bunch of bowls, pouring cans, etc. So I just stuck with the basics.
I did a lot of research and actually found that you can microwave.
Who would have thought?
I also read that it could dangerous. I heard some horror stories of bad burns. But I wanted to try it that way because once again I didn't want to buy any additional items to cook it.
I decided to get out my mason jars and cook it in there.
I also found out via pinterest that you can make color candles using crayons? Say what?
It totally works!
So I filled up my jar with the soy flakes then added a the crayon.
I put in the microwave and cooked for 30 seconds at a time.
Then I'd stir it, and cook it 30 seconds again, and stir, and then do it one more time for 30 seconds.
*When you remove it from the microwave
each time, make sure to use a pot holder, it is extremely hot!
The color you see now is much darker.
It will be a light blue when it dries.
My pictures are all out of order because some of the pictures didn't turn out that well. My kitchen pot lights don't make for very good pictures.
First get your wick and place hot glue on bottom
of the metal wic holder.
Then place it into your jar, I used a pencil
with an eraser to push it down good.
Ok, now lets start with the red color...
I did it just like the blue color,
I added one crayon to about 2 cups of soy wax.
Then I filled an 8 ounce jar about 2/3 full.
Then I took a syringe, (could be done with a pipette),
and filled it up with Tiki Citronella Torch Fuel.
You can also buy just lemongrass oil, where essential oils are sold.
I have tested these out with the fuel in there, and they burn fine, no problems at all!
I put about 4 drops per color layer.
Let the each color layer completely dry.
If not the colors will run together.
I did it and the white color turned pink.
Then I melted just the soy wax, no crayon for the white layer.
and poured it onto the red layer after the red layer dried.
It's hard to tell by the picture because the white color is clear when hot.
And then again I added 4 drops of the Citronella Oil.
After that completely dries then add your blue layer,
and add your citronella drops.
As the each layer of the candle is drying try and hold up the wic to the center. It won't stay, but will stay closer to the center. Once you get to your top layer make sure to keep coming back to every 5 minutes to straighten it back out so it won't lean like the picture above when the candle is all dried.
And here is the final result...
Cut your wic off leaving about 1/2 inch of the wic
left above the candle.
I like this one the best!!!
For the pedestal candles I just added some E-6000
and adhered a candlestick holder to the bottom of the jar.
I love how they turned out! They will be put to good use today as my sister and I stay out on the patio and enjoy some patriotic drinks. Stay tuned for the recipe to those!
I definitely recommend
Bill is a sweet, and honest reliable seller.
Be sure to visit his latest crafting site
Want to really stay on top of candle making be sure to like CandleWic on Facebook.
He also have many auctions of close out products on eBay which can be found at:
Thank You so much Bill for letting me try this out! I am addicted now!
WooHoo!
Thanks for tuning in guys!
Until next time...
This post has been Featured On:
These are cool. I make candles...but I have never tried the torch fuel. Maybe, I will make some for my daughter's cookout. Thanks for sharing this.
ReplyDeleteI used to love making candles, but now it's all about the beads. Those are great! Visiting from Make it pretty mon.
ReplyDeleteI really love your candles they turned out very cute. I think I'll try making some, looks fairly simple . Thank you for sharing! Kim from This Ole Mom
ReplyDeleteThanks for sharing this project at the Say G'day Saturday party Allie I've just pinned and shared on G+.
ReplyDeleteBest wishes,
Natasha in Oz
PS Hope you can join in again this weekend!
Hi Allie, stopping by today from Natasha's blog, I thought your idea was so great I pinned it to my Mason Jar Pinterest Board. It's so cute!!!
ReplyDeleteI would like to invite you to join our Weekends Are Fun Party as well, hope you have time to stop by!
http://ohmyheartsiegirl.com/index.php/weekends-fun-blog-hop-4/
Have a great day!
Karren
These are adorable and look pretty easy to make! Thanks for sharing last week on Mostly Homemade Mondays! If you get a minute, hop over today and link up a few more of your favorite posts: http://www.thesustainablecouple.com/2014/06/mostly-homemade-mondays-week-83.html
ReplyDeleteThis looks so cool! I love that it is so easy but looks so amazing. Sending love your way. Lou Lou Girls
ReplyDeleteWhat a fun and cute idea, I wanted to let you know that I am featuring this post on my blog tomorrow at Tuesdays with a Twist, link party. Come by and take a look. Thanks again for sharing and have a great day. :-)
ReplyDeleteThanks for linking at Share it Sunday! Love the candles, and adding the citronella is a great idea! These will be featured when SIS goes live this Saturday night!!
ReplyDeleteHi Allie,
ReplyDeleteThis is a wonderful tutorial for beautiful festive candles.
The way you created them is a lot easier than the ones
I created many years ago!
Bear Hugs,
Carolyn
Adorable idea! Visiting you from the boogie board cottage. Pinning!
ReplyDeleteCute candles, I just started making my own candles a few weeks ago using wax melts, broken crayons and sometimes candlesticks by shredding them. I am addicted now, too! Now following you on FB, enjoy your day. :)
ReplyDeleteThanks so much for sharing your crafty post at the #sundaysdownunder linky party. Those candles must smell amazing and they look fabulously patriotic!
ReplyDeleteI really appreciate you and your support! I’ve pinned your post too.
Take care and best wishes,
Natasha in Oz
I love these red, white, and blue citronella candles! What fun they will be for the 4th of July. Please come share your blog posts over at the Home Matters Linky Party! We'd love to have you for a visit. The Door Opens Friday! :)
ReplyDelete~Lorelai
Life With Lorelai
I can't wait to make the red, white and blue citronella candles. What a festive and useful idea for the 4th of July Holiday.
ReplyDeleteThank you for sharing with the Clever Chicks Blog Hop! I hope you’ll join us again next week!
Cheers,
Kathy Shea Mormino
The Chicken Chick
http://www.The-Chicken-Chick.com
Those turned out great! And it's the perfect time of the year for them - I got all bit up over the weekend without them! Thanks so much for taking the time to link up with us over at the #HomeMattersParty - we hope to see you again next week!
ReplyDeleteThese are too stinkin' cute! Thanks so much for linking them up at last week's Tips & Tricks Linky Party. I have included them in a patriotic roundup on my blog, and I'm heading over to pin them, now! :) Hope you'll join us at this week's party (It went live last night)...
ReplyDeleteHave a great week!
-Heather
www.stringtownhome.net
How long does each layer take to dry? Thanks!
ReplyDelete